This article is designed for both crew and engineer and will guide you through how to replace the measuring cell of your Smart ODME system. Replacing the measuring cell can resolve multiple issues including high PPM readings, communications failures and self test failures. The measuring cell is an intelligent, digital part of the system that captures, calculates and shares the PPM value, Flow Value and pressure value with the ODME Computer module over RS485. This part is intrinsically safe, using an Ex m protection method, meaning the electronics within it are potted in a flame proof encapsulant.
Most importantly, replacing the measuring cell will give the ODME system a new calibration certificate.
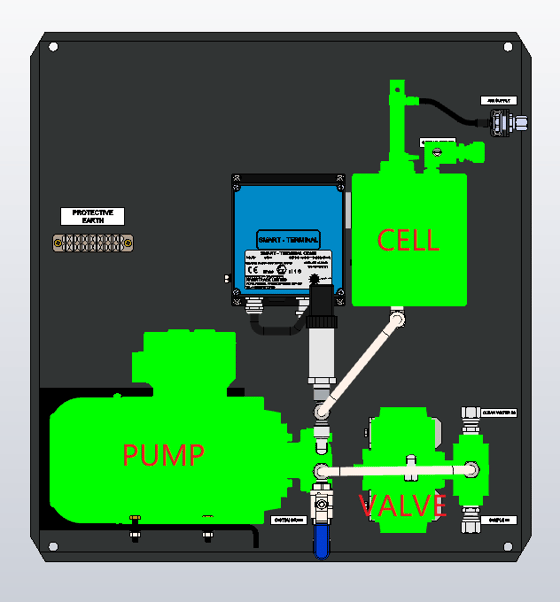
The Measuring cell is mounted on the VPC which consists of three main parts. These parts are the Valve, Pump and Cell. The cell is the part that will be replaced in this procedure.
The first step is to isolate all power, air and flow to the entire system and wait for 10 minutes for any residual energy to deplete.
You must then locate the ODME VPC, typically installed on deck in a hazardous environment so ensure that all necessary risk assessments, hazardous area working practices and company policies are adhered to.
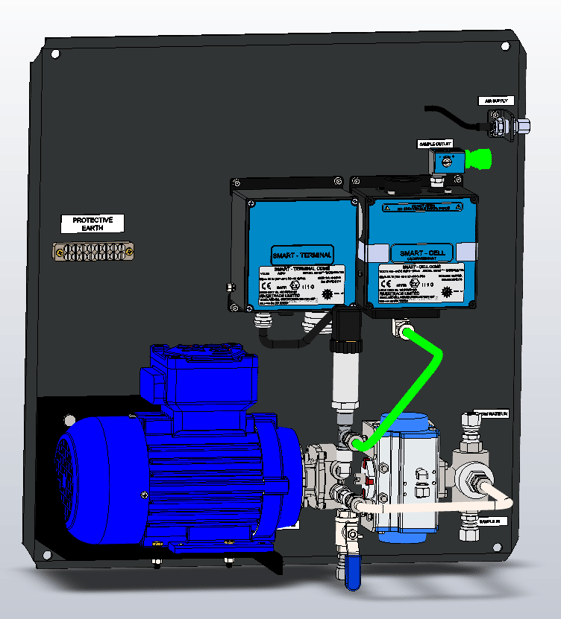
The system must be drained of all water. This can be achieved by opening the system-drain valve located at the bottom of the VPC and removing the Autoclean assembly from the top of the measuring cell, both highlighted green below;
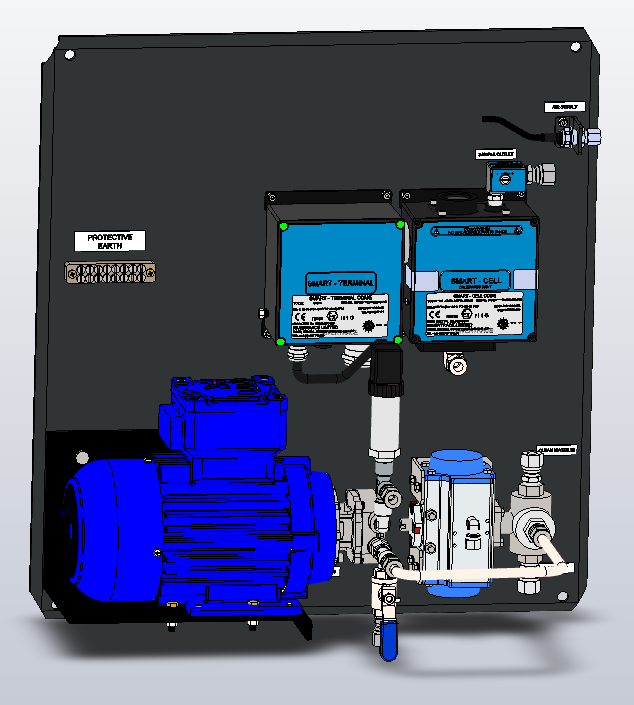
The pipework at the inlet and outlet of the measuring cell must then be removed, ensuring that all parts removed are kept safe. These parts are highlighted in green below.
The Measuring cell should now be free of all pipework and ready for the wiring to be removed. At this stage, all residual water and spillages should be dried prior to opening the Terminal module. The four Philips head screws (Highlighted Green) on the left hand terminal module should be removed. This will allow the terminal module cover to be removed, exposing the terminal PCB and internal wiring. All wires from the measuring cell can now be removed from the terminal PCB, taking note of the location of each coloured wire.
The four 4mm Allen screws that fix the measuring cell to the VPC backplate can now be removed, making it possible for the measuring cell to be removed from the VPC by sliding the cell assembly to the right.

The New measuring cell should be refitted in reverse order ensuring all pipework is sealed correct, the terminal cover gasket is in good condition and wiring is terminated in accordance to the image below:

Heads-up. Please take extra care in ensuring that the Turquoise and Green wires are not confused. In some lights, the wires can look very similar.
New Smart ODME measuring cells are delivered pre-programmed, calibrated and certified. They are also supplied with a new Autoclean actuator.
Once the system is fully rebuilt and sealed, all supplies can be reapplied and the system can be retested.