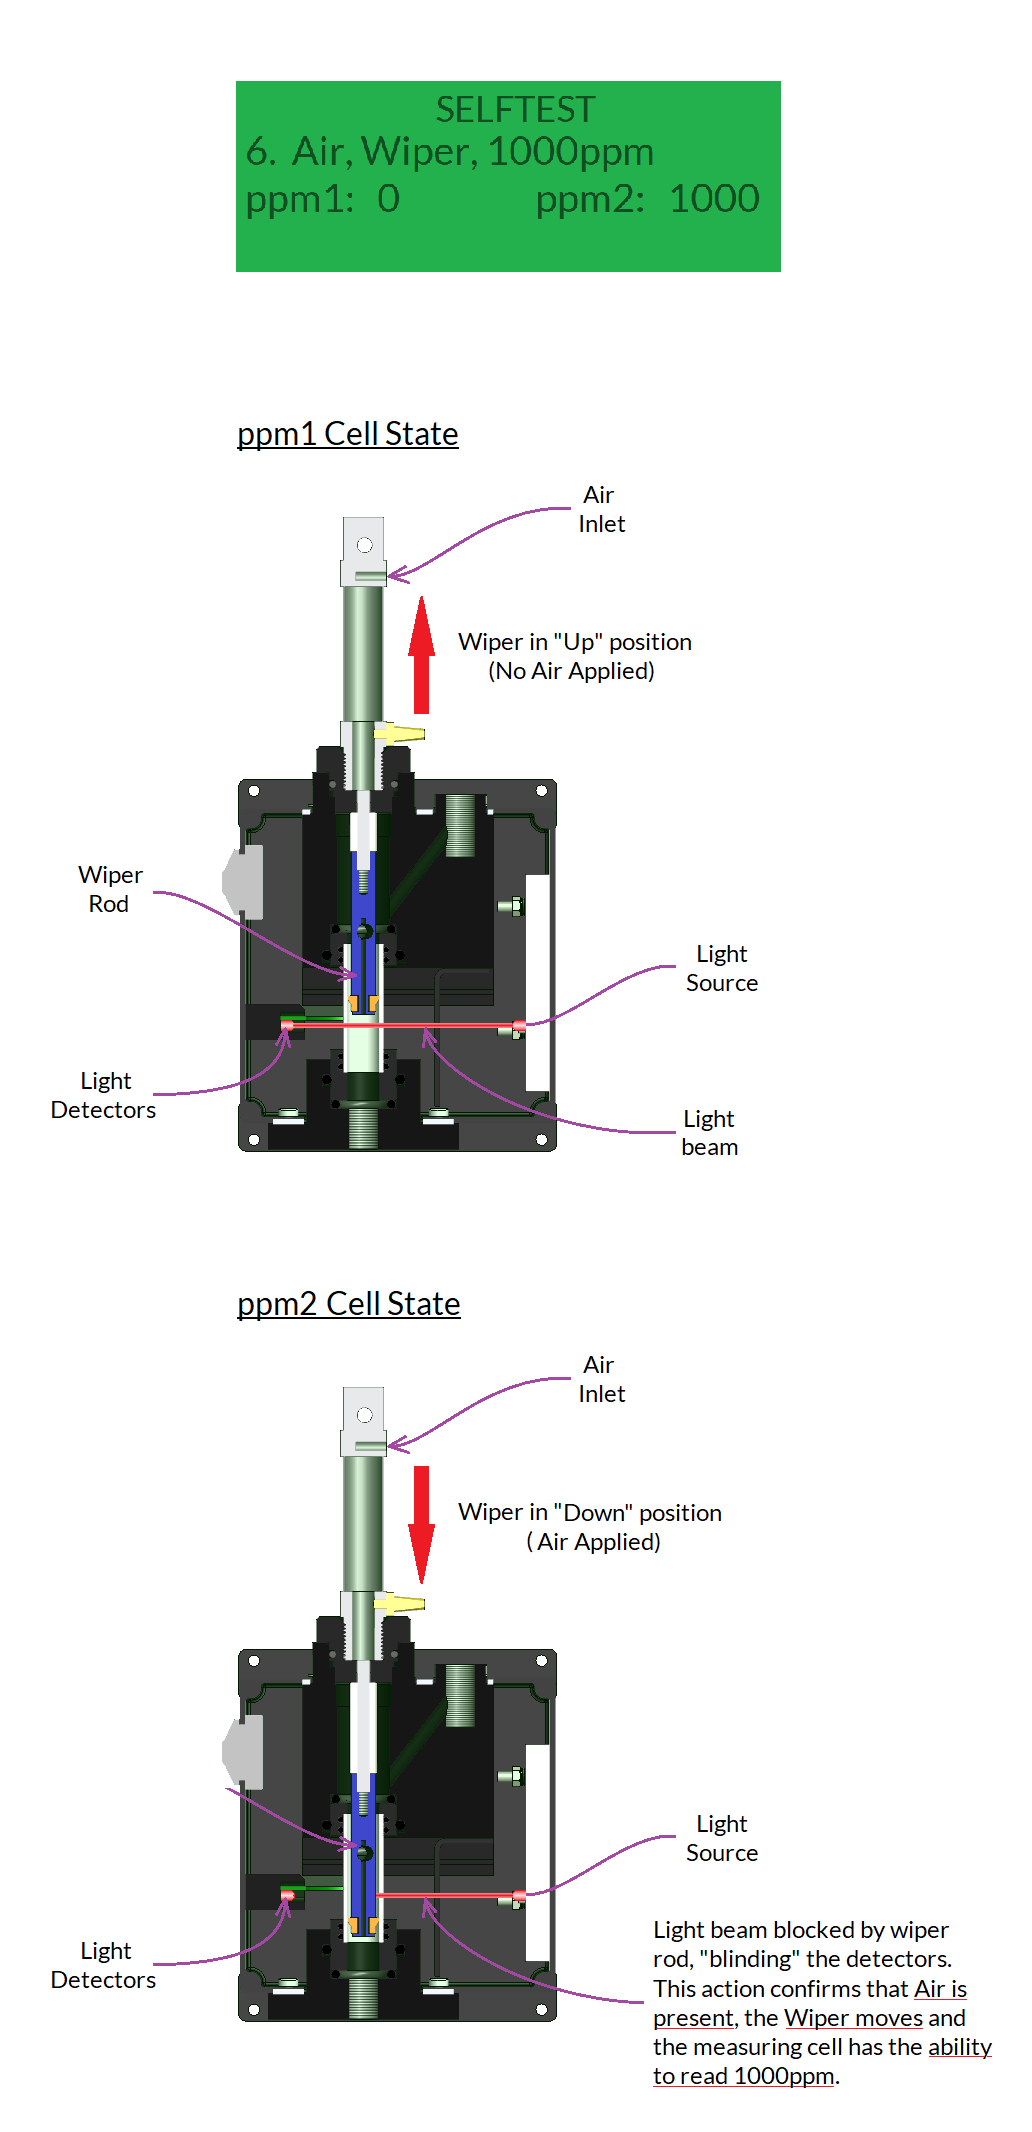
Initially starting at 0, or a low PPM, the wiper will be forced down one time by the computer. This action will blind the detectors inside the measuring cell causing a 1000ppm reading that is passed back to the ODME computer. As the wiper has moved in its allocated time, the system can confirm that air is present and the wiper is functioning.
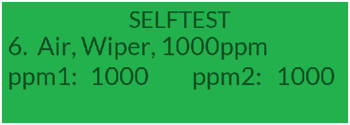
The Computer is looking for a change in the PPM reading when the wiper is activated. If the wiper is stuck down initially, the PPM will already read 1000PPM before the test so no change will be detected and errors will appear. Also, if the PPM is at 1000ppm at the beginning of the test, no change will be detected and the error will be displayed. If the PPM and PPM1 is 1000, the rest of the test will be aborted and no electrical signal will be sent to the solenoids to complete the rest of the test.
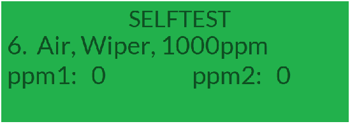
If the wiper does not move due to a lack of air pressure, air blockage, mechanical restriction or lack of electrical signal (unlikely), the measuring cell will not move to 1000ppm, no change will be detected and air, wiper and 1000ppm will be raised.
The wiper has a short window from the computer to operate so a functioning but slow moving wiper will cause the same error messages. The pressure at the wiper actuator should be instant and fully extend the wiper within 1 second. Sometimes, the wiper will move fast when it is removed from the measuring cell for testing, however, when reinserted, the friction between the cell tube and the wiper will slow this action down. The solenoids should be cleaned and all pipe work checked for leaks, blockages and kinks.
If the wiper does not move, the measuring cell always reads 1000PPM or the wiper is stuck down, ER will appear next to AIR, WIPER and 1000PPM in SELF TEST.
The first step should be to thoroughly clean the measuring cell by following the procedure below.
Measurements of 1000ppm
It is crucial that your measured oil content does not remain at 1000ppm throughout the self-test. This will cause the self-test to fail.
If the ODME Measuring computer module is receiving a value of 1000ppm (Typically due to a wiper that is stuck in the down position, dirty clean water supply or a dirty measuring cell), the ODME Computer will not attempt to operate the wiper during self-test.
The measuring cell should be thoroughly cleaned to attempt to reduce the reading prior to retesting.
Cell Cleaning procedure
- Isolate all power to the system.
- Isolate all flow to the Measuring cell.
- Drain the measuring cell.
- Remove the Autoclean.
- Plug the inlet and outlet of the Measuring cell.
- Fill the cell tube with a mild acid via the Cell cap / Autoclean / Manual clean hole. Orange juice, vinegar and cola give the best results and are also safe for the operator and equipment.
- Leave this acid to soak for a minimum of 12 hours
- Use a clean, soft bottle brush to clean the inside of the glass tube. Never use a rag or anything other than a soft bottle brush.
- Drain the measuring cell
- Flush with plenty of clean water (We advise flushing for 30 minutes)
- Refit the Autoclean. Reconnect all pipework, power and flow.
- Flush with clean water once more by manually forcing the 3-way valve at the VPC to pass clean water.
- At the ODME Computer module, Enter the menu; Service menu > System Test > Check PPM. If the PPM Remains high, the measuring cell will need replacing.
Retest
If successful, the following checks are not necessary.
or...
If unsuccessful and the 1000ppm reading remains, the following "Cell Reset" must be performed to attempt to clear the 1000ppm reading: Reset Instructions
Checking the wiper
- Make sure air is available and set to around 6BAR.
(If no air is present, check all valves are open and regulator is set to 6bar) - Remove the Autoclean wiper from the top of the measuring cell using the knurled nut. While the Auto Clean Wiper is removed, turn the V3 switch at the Zener barrier/ Solenoid valve assembly 90 degrees either left or right from the vertical position. (This is a red plastic switch located directly on the solenoid valve). Ensure a strong, clean air supply is present at the Auto clean Wiper. Once checked, return the switch to the vertical position.
(If the air supply is weak, dirty, oily or moist, clean the pipework. Check for leaks. Check regulator pressure as in step 1. Check/clean solenoid valves at the Zener barrier enclosure. Drain the bowl of the air regulator. Ensure all brass exhaust valves are free flowing and debris free.) - Refit and tighten the Autoclean assembly by hand fully via the knurled nut and then loosen by up to 1 full turn until the air inlet is facing the air pipe to ensure it is not overtightened (This will ease any friction that may be caused by over tightening).
- With the Autoclean and pipework fitted back to the measuring cell, make sure that the pipework does not put any lateral force on the actuator. This will cause the wiper to stick. Even the slightest force can cause this. We supply a kit to eliminate any unwanted force on the actuator – Part number: 110395
Retest – If successful, the following checks are not necessary.
Further Checks (Rarely required)
- Remove J23 from the back of the ODME computer. 24vdc should be present from the plug/wires (NOT THE COMPUTER). When the two pins of the plug are shorted together, the wiper should activate.
(If no 24VDC is present, make sure all three RED LEDs are ON at the Zener barrier PCB. If any RED LEDs are OFF, the Zener barrier is at fault. If all three LEDs are on with NO 24VDC at J23, there is a wiring or termination issue between the Zener barrier and J23 of the ODME computer.) - With both wires of J23 at the ODME computer linked together, check for 24VDC at V3 plug on the valve assembly fixed to the Zener barrier enclosure. Check that the coil is energised and magnetized.
(If 24VDC is present at J3 plug of the solenoid valves, yet the coil is not magnetized, replace the coil. If NO 24VDC is present, check the wiring from the Zener barrier to the plug.)